

Start here
Why Composting Is Worth the Effort
Next
What You Can and Cannot Compost
Then
Choosing a Composting Method
When you're ready
Building and Maintaining Your Pile
Final step
How to Use Finished Compost
Why Composting Is Worth the Effort
Composting is one of the most practical habits a family can adopt in the yard. It diverts organic waste from landfill, reduces the need for purchased fertilizers, and produces a soil amendment that genuinely improves plant performance. The EPA estimates that food and yard trimmings together make up a significant share of what households throw away - material that decomposes productively in a backyard bin instead.
Beyond the environmental angle, the payoff is tangible. Mixing finished compost into garden beds improves drainage in clay soils and moisture retention in sandy ones. For families growing vegetables, it can give transplants a strong start. See our guide to starting a family vegetable garden for practical advice on putting that compost to work from day one.
What You Can and Cannot Compost
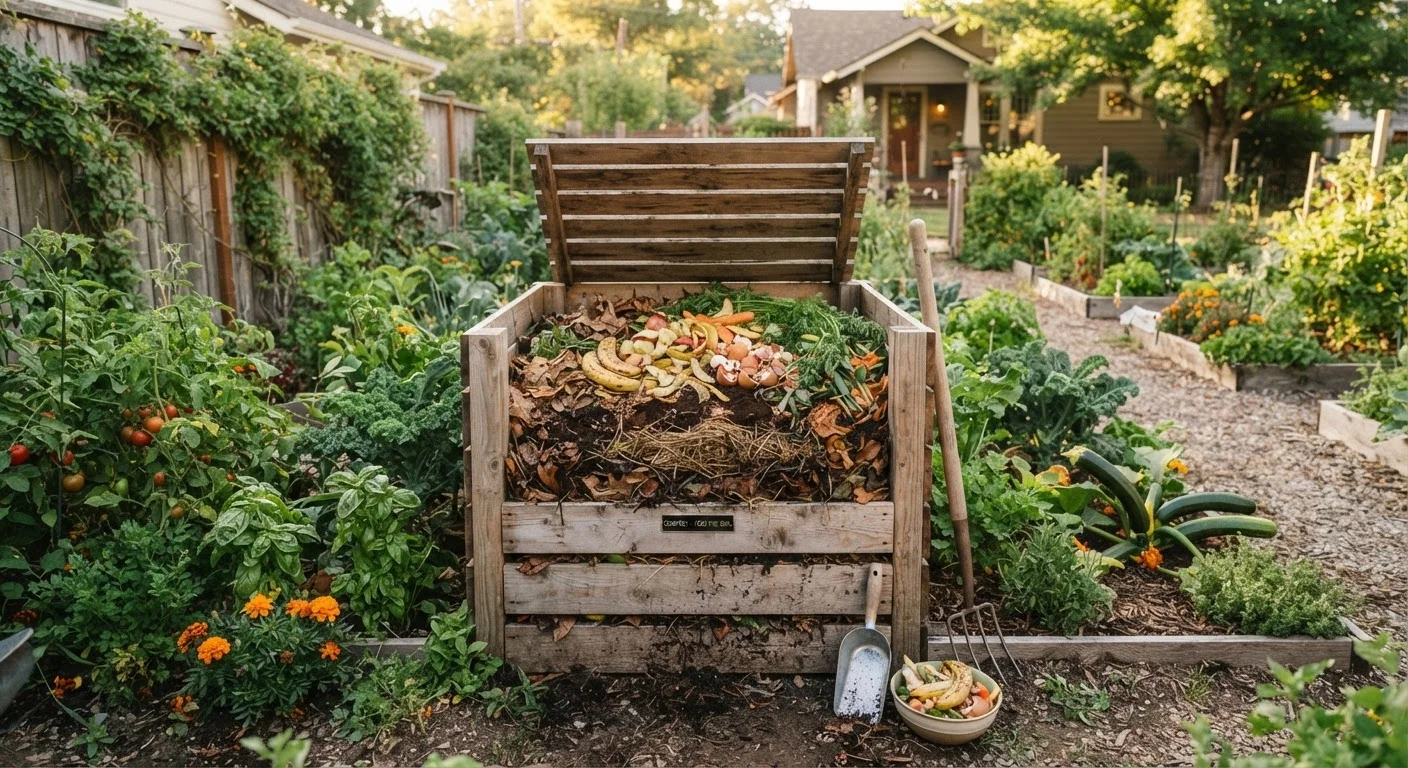
A functioning compost pile needs two categories of material, often called greens and browns.
Greens
Nitrogen-rich organic materials added to a compost pile, such as vegetable scraps, fresh grass clippings, and coffee grounds. They fuel microbial activity.
Browns
Carbon-rich materials like dry leaves, cardboard, and straw. They provide structure, absorb excess moisture, and balance nitrogen in the pile.
Aeration
The process of introducing air into the compost pile, typically by turning it. Oxygen is essential for the microbes that break down organic matter.
Vermicomposting
A composting method that uses red wiggler worms to break down kitchen scraps. It works indoors and produces a particularly nutrient-dense end product called worm castings.
Finished compost
Fully decomposed organic material that looks dark brown, smells earthy, and no longer resembles its original ingredients. Safe and ready to mix into garden soil.
Greens (nitrogen-rich) include fruit and vegetable scraps, coffee grounds, fresh grass clippings, and plant trimmings. Browns (carbon-rich) include dry leaves, cardboard torn into pieces, paper bags, straw, and wood chips. A rough ratio of two to three parts browns to one part greens by volume keeps decomposition active without creating odors.
Keep these out of a standard bin:
- Meat, fish, and bones
- Dairy products and greasy foods
- Diseased or pest-infested plants
- Pet waste
- Treated or painted wood
- Invasive weeds that have gone to seed
Eggshells are fine to add - they break down slowly but do no harm. If you've heard strong claims about coffee grounds or other kitchen items, our garden myths article separates fact from folklore on several popular composting beliefs.
Choosing a Composting Method
There is no single right approach. The method that suits your family depends on space, time, and how much material you generate.
- Open pile: Stack material directly on bare ground. Simple and free, but slower and less tidy.
- DIY bin: Four pallets wired together or a cylinder of wire mesh contains the pile, retains heat, and speeds decomposition. Cost is minimal.
- Purchased tumbler: A rotating drum elevates the pile off the ground, discourages pests, and makes turning easy. Better suited to smaller yards.
- Vermicomposting (worm bin): Red wiggler worms process kitchen scraps indoors or in a garage. Produces exceptionally rich worm castings and works well where outdoor space is limited.
Keep a Small Bin in the Kitchen
A lidded countertop container makes collecting scraps easy without multiple trips outside each day. Empty it every two to three days to prevent odors. This small habit dramatically increases the volume of material that actually makes it to the compost pile.
Whatever method you choose, site the bin in partial shade if possible. Full sun dries the pile out quickly, while deep shade slows microbial activity.
Building and Maintaining Your Pile
Start with a four- to six-inch layer of coarse browns - wood chips or straw work well - at the base to allow airflow. Alternate layers of greens and browns as material becomes available. Each time you add kitchen scraps, bury them in the center of the pile and cover with a handful of browns to reduce odors and discourage flies.
Three factors drive decomposition: moisture, air, and particle size. The pile should feel about as damp as a wrung-out sponge. If it dries out, water it lightly. If it becomes soggy, add more dry browns. Turning the pile every one to two weeks introduces oxygen and moves material from the cooler edges into the hotter center, where decomposition is most active. Chopping or shredding materials before adding them noticeably speeds breakdown.
Understanding soil health basics can help you recognize what your finished compost is actually contributing to your garden beds and where it will make the biggest difference.
How to Use Finished Compost
Finished compost is dark, crumbly, and smells like rich earth. Once it reaches that stage, work two to four inches into new garden beds before planting, or use it as a top dressing around established plants. It also mixes well with potting soil for containers - generally no more than one-third compost by volume to avoid compaction.
Compost pairs naturally with mulching. Applying a layer of mulch on top of compost-amended beds conserves the moisture and suppresses weeds that would otherwise compete with your plants. Our guide to mulching explains how to layer these two habits effectively. For a broader view of how composting fits into year-round yard care, the full-year backyard overview maps out when to apply compost alongside other seasonal tasks.
Frequently Asked Questions
Active, well-managed piles that are turned regularly can produce finished compost in two to three months. A more passive pile left largely undisturbed may take six months to a year. Warmer weather speeds the process considerably.
A properly balanced bin should smell earthy, not foul. Odors usually signal too much nitrogen (greens), excess moisture, or poor aeration. Adding dry leaves or cardboard and turning the pile typically resolves the issue quickly.
Yes. Compact tumbler bins work well in small yards, and indoor worm bins (vermicomposting) are a practical option for apartments. Both produce high-quality compost without requiring significant outdoor space.
Fruit and vegetable peels, coffee grounds, tea bags (paper ones), eggshells, and plain cooked grains are all fine. Avoid meat, fish, dairy, oily foods, and anything with heavy seasoning, as these attract pests.
Finished compost looks dark brown, crumbles easily, and smells like fresh forest soil. You should not be able to identify the original materials. If chunks are still recognizable, give the pile more time.
A simple open pile works, though a bin helps retain moisture and heat, speeds decomposition, and keeps the area tidy. DIY bins made from pallets or wire mesh are low-cost alternatives to store-bought units.
The content provided on our blog site traverses numerous categories, offering readers valuable and practical information. Readers can use the editorial team’s research and data to gain more insights into their topics of interest. However, they are requested not to treat the articles as conclusive. The website team cannot be held responsible for differences in data or inaccuracies found across other platforms. Please also note that the site might also miss out on various schemes and offers available that the readers may find more beneficial than the ones we cover.