

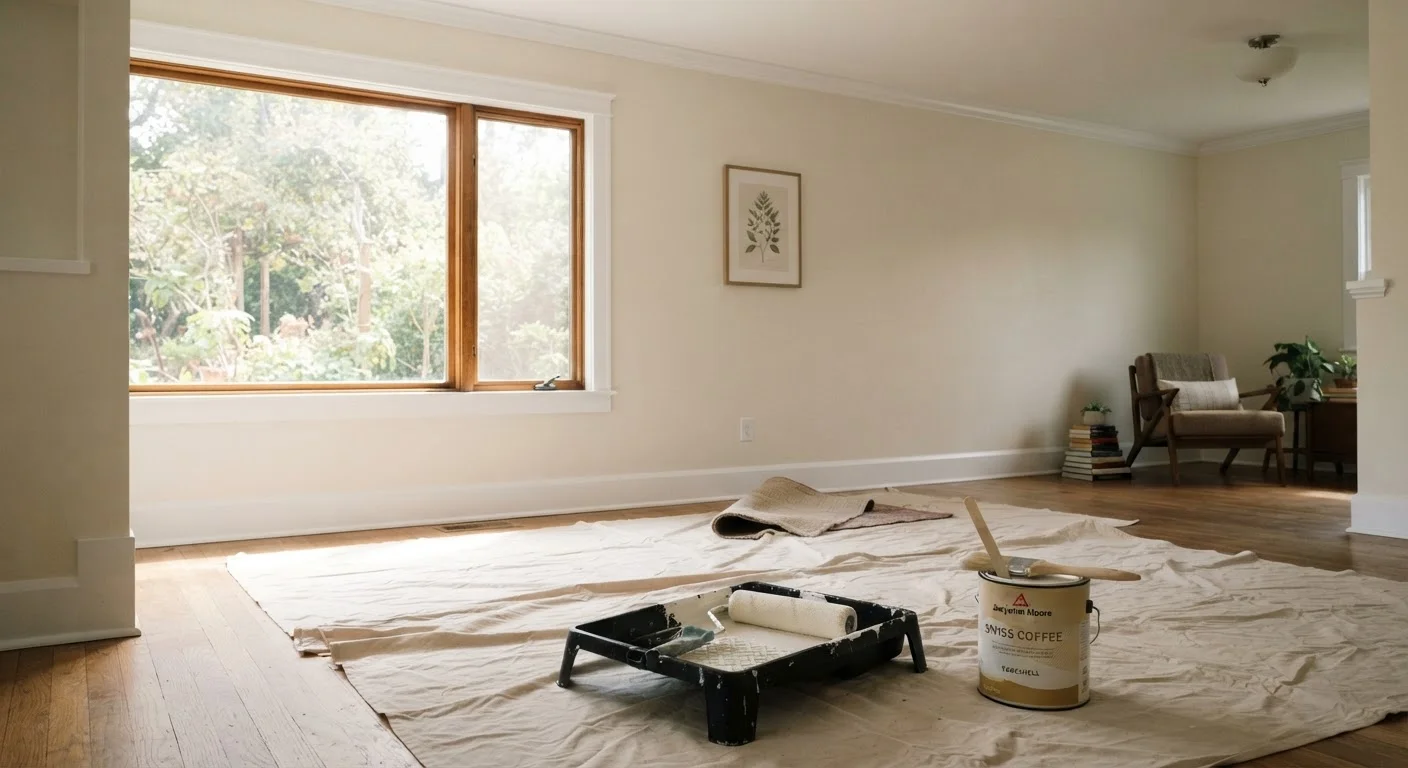
Why Prep Work Is 80% of the Job
Most paint jobs that look amateur - drips, patchy coverage, peeling edges - trace back not to bad painting technique but to skipped preparation. Walls that aren't clean, smooth, and properly primed won't hold paint well, no matter how carefully you apply it. Investing time up front pays off in a finish that looks professional and lasts for years.
Before you open a single can, gather your tools and supplies. Here's what you'll need:
Angled sash brush (2-2.5 inch)
Used for cutting in along edges, trim, and corners where a roller cannot reach.
9-inch roller and frame with extension pole
Applies paint evenly across large wall surfaces with minimal fatigue.
Roller covers (3/8-inch nap for smooth walls)
The right nap thickness ensures even coverage without excess splatter.
Paint tray and liner
Holds paint for the roller and helps load it evenly without over-saturating.
Painter's tape (1.5-inch)
Protects trim, baseboards, and outlet covers from accidental paint transfer.
Drop cloths (canvas preferred)
Covers floors and furniture to catch drips and roller splatter.
Spackling compound and putty knife
Fills nail holes, dents, and small cracks before painting for a smooth surface.
Fine-grit sandpaper (120-150 grit)
Smooths patched areas and scuffs glossy surfaces so paint adheres properly.
Once you have everything on hand, you're ready to work through the steps methodically. For families tackling a shared kids' room, see our article on designing a shared kids' room for color and layout ideas that work for multiple children.
What you will need
Step-by-Step: From Bare Walls to a Clean Finish
Follow these steps in order - skipping ahead is the most common reason a paint job needs to be redone. The entire process, including drying time, may take a full day or spread across a weekend for a standard-sized room.
Older Homes and Lead Paint Risk
Homes built before 1978 may have lead-based paint on walls and trim. Sanding, scraping, or disturbing lead paint creates dust that poses serious health risks, particularly for young children. Do not attempt to sand or strip painted surfaces in older homes without first testing for lead using a certified test kit or hiring a licensed professional. Contact your local health department for guidance on safe renovation practices.
Clear, protect, and clean the space
Move furniture out or push it to the room's center and cover it with drop cloths. Lay canvas drop cloths on the floor along every wall - canvas grips the floor better than plastic and absorbs drips rather than letting them slide. Remove switch plates, outlet covers, and any wall hardware and store the screws safely.
Wipe down all walls with a damp cloth or a sponge and mild dish soap solution, working from top to bottom. Grease, dust, and fingerprints prevent paint from bonding properly. Let walls dry completely before moving on.
Patch holes and sand rough spots
Use a putty knife to press spackling compound into any nail holes, dents, or small cracks. Feather the edges so the compound is flush with the surrounding wall. Allow it to dry fully - most compounds dry white when ready. Sand each patched area lightly with 120-150 grit sandpaper until smooth to the touch, then wipe away the dust with a dry cloth.
If your existing walls have a glossy sheen, lightly scuff the entire surface with fine sandpaper so the new paint has something to grip. Skip this step and you risk peeling within months.
Choose your finish and apply primer if needed
Finish (sheen) matters as much as color. Matte/flat hides imperfections well but scuffs easily - best for low-traffic bedrooms. Eggshell offers a soft glow and is wipeable, making it the go-to for living rooms and hallways. Semi-gloss resists moisture and cleans easily - ideal for kitchens, bathrooms, and trim. See our guide on how wall color affects perceived room size if you're still deciding on a color.
Apply a coat of primer if you're making a dramatic color change, painting over a dark color, or covering fresh drywall or patched areas. Primer improves adhesion and often reduces the number of paint coats needed.
Apply painter's tape carefully
Run painter's tape along the top edge of baseboards, around window and door casings, and across the top of the wall where it meets the ceiling - unless you plan to repaint the ceiling too. Press the tape firmly with a putty knife or your fingernail to seal the edge and prevent paint bleeding underneath.
Remove tape while the paint is still slightly tacky (not fully dry) and pull it back at a 45-degree angle for the cleanest line.
Cut in edges before rolling
Load your angled brush with about an inch of paint and tap off the excess on the side of the can - don't wipe it like a dry brush. Paint a 2-3 inch band along all edges: ceiling line, corners, baseboards, and around any trim or fixtures. This is called "cutting in." Work in small sections and keep a wet edge to avoid lap marks where the brush work meets the rolled area.
Roll the walls in thin, even coats
Pour paint into your tray and load the roller by rolling it back and forth on the tray's ridged surface until evenly coated but not dripping. Apply paint to the wall in a "W" or "M" pattern, then fill in the gaps without lifting the roller. Work from the top of the wall downward and maintain a wet edge.
Apply two thin coats rather than one heavy coat. A heavy coat drips, takes longer to dry, and can leave texture. Let the first coat dry fully - check the can for recommended recoat times, typically 2-4 hours for latex paints - before applying the second.
Clean up and inspect the finished walls
Remove tape while the second coat is still slightly tacky. Rinse latex paint brushes and rollers thoroughly with warm water immediately after use - don't let them dry with paint in them. For oil-based paints, use mineral spirits according to the manufacturer's directions and dispose of solvents properly per your local regulations.
Once dry, inspect the walls in natural light and under artificial light. Touch up any thin spots or missed edges with a small brush. Reattach switch plates and outlet covers, and return furniture only after the paint has cured - generally 24-48 hours for latex paint, though full hardness can take longer.
Ventilation Is Non-Negotiable
Keep windows open and a fan running throughout the project and for several hours afterward. Paint fumes - even from low-VOC formulas - can build up quickly in enclosed spaces. If anyone in your household has respiratory sensitivities, consider having them stay out of the area until the space has aired out fully.
Interior painting is meaningfully different from maintaining your home's exterior surfaces. If you're curious about outdoor paint care, our guide on keeping exterior paint healthy longer covers the habits that prevent early peeling and cracking outside.
After the Paint Dries: Making It Last
A freshly painted room benefits from a little ongoing care. Clean walls gently with a damp cloth rather than abrasive scrubbers, which can dull or scuff the finish over time - especially on matte and eggshell surfaces. Address scuffs and marks quickly with a small amount of leftover paint on a damp brush before they set in.
How a room looks after painting is also shaped by what goes back into it. Rooms that feel visually busy even after a fresh coat often have underlying layout or clutter issues. Our article on why living rooms feel cluttered even after tidying explains the structural reasons a space can still feel overwhelming - and what actually creates lasting visual calm.
Don't Skip the Dry Time Between Coats
Applying a second coat before the first has dried causes lifting, bubbling, and an uneven finish that is difficult to correct without starting over. Check the manufacturer's recoat window on the paint can and follow it - humidity and temperature both affect drying time. On humid days, add extra time beyond the minimum.
With the right prep, the right tools, and a methodical approach, painting a room is a project most families can handle confidently on a weekend. Take your time, follow the sequence, and the results will speak for themselves.
The content provided on our blog site traverses numerous categories, offering readers valuable and practical information. Readers can use the editorial team’s research and data to gain more insights into their topics of interest. However, they are requested not to treat the articles as conclusive. The website team cannot be held responsible for differences in data or inaccuracies found across other platforms. Please also note that the site might also miss out on various schemes and offers available that the readers may find more beneficial than the ones we cover.