

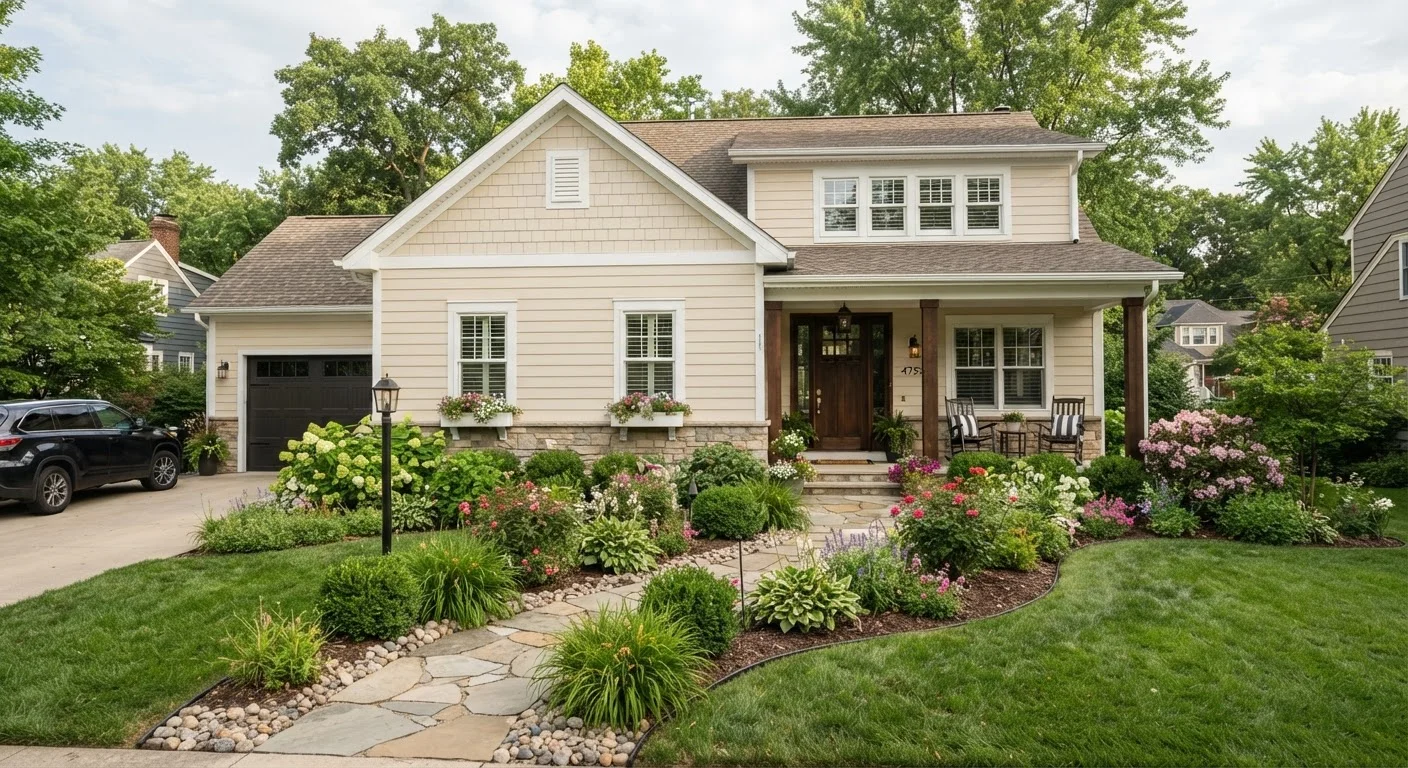
Why Exterior Paint Is More Than Decoration
Most families think of exterior paint primarily as curb appeal. In reality, it serves as the first line of defense against moisture, UV radiation, and temperature swings that can degrade siding, trim, and structural framing over time. When paint fails - through peeling, cracking, or chalking - it exposes the underlying material to water ingress, which is the leading cause of rot, mold, and eventual structural damage.
Understanding this protective function changes how you approach maintenance. Instead of waiting until paint looks visually tired, you start watching for the early warning signs that the barrier is breaking down. That shift in perspective can save families thousands of dollars in repairs. For a broader look at protecting your home season by season, see your home's annual maintenance calendar.
Best Practices for Extending Exterior Paint Life
The following practices represent a practical, research-grounded approach to keeping your home's exterior in strong condition between full repaints.
Conduct a close visual inspection of all painted surfaces at least once a year.
Small cracks and peeling spots are easy to miss from ground level or when you're used to seeing your home daily. A deliberate annual walkthrough with fresh eyes catches early failures before water gets behind the paint film. Spring, after winter stress, is often the best time.
Recaulk gaps around windows, doors, and trim joints before they open wide enough to admit water.
Caulk shrinks and cracks over time, especially around penetrations and joints where two materials meet. A failed caulk line is an open channel for water - it can saturate wood framing behind siding without any visible exterior sign for months.
Wash exterior surfaces gently every one to two years to remove dirt, mold, and chalking.
Dirt and biological growth (mold, mildew, algae) degrade paint film and hold moisture against the surface. Regular low-pressure washing removes these threats and also prepares the surface better for touch-up paint adhesion. High-pressure washing can damage siding and should be used with care.
Trim back vegetation and overhanging branches that keep exterior walls damp.
Shrubs, vines, and tree limbs that contact or closely overhang painted surfaces trap moisture against them, accelerating mold growth and paint degradation. Adequate airflow against siding helps surfaces dry faster after rain.
Touch up minor peeling and bare spots promptly using matching exterior paint and a primer base.
Exposed substrate - even a small patch - is immediately vulnerable to moisture absorption. Wood can begin to swell and check within a single wet season if left unprotected. A small touch-up job done promptly costs a fraction of replacing damaged siding or trim.
Ensure proper drainage and grading directs water away from the home's foundation and siding.
Water that pools near the foundation or splashes back from hard surfaces onto siding is a persistent source of paint failure at low elevations. Grading and drainage improvements reduce the chronic moisture load on painted surfaces near grade.
Start Here: Quick Wins You Can Do This Weekend
Not every protective measure requires a full day or professional help. Several high-impact steps can be completed in a few hours and set the foundation for longer-lasting paint overall. Don't overlook your gutters either - water overflowing from blocked gutters is a major driver of paint failure along fascia boards and siding. Learn more in our guide on keeping gutters clear and functional.
Knowing When It's Time to Repaint
Even well-maintained paint has a finite lifespan - typically 5 to 10 years depending on climate, substrate material, and original application quality. Wood siding tends to need repainting more frequently than fiber cement or masonry. Key signals that repainting is overdue include widespread chalking (a powdery residue that rubs off on your hand), peeling that extends beyond isolated patches, and any area where bare substrate is visible.
Before repainting, surface preparation is critical. Skipping thorough cleaning and priming is one of the most common reasons new paint fails prematurely. If you're planning an interior project too, the principles of prep work translate well - see how to approach a room paint job without the mess or regrets for technique guidance.
Older Homes and Lead Paint Considerations
Homes built before 1978 may have exterior paint containing lead. Sanding, scraping, or disturbing lead paint without proper precautions poses a health risk, especially for children and pregnant individuals. If you are unsure whether lead paint is present, consider having surfaces tested by a certified inspector before doing any prep work. The EPA's Renovation, Repair, and Painting (RRP) Rule governs how such work must be handled by contractors.
For hazardous or high work - repainting second-story gables, repairing rotted structural members, or addressing lead paint in older homes - consult a licensed painting contractor. Some tasks involve real safety risks and may require permits depending on your municipality.
The content provided on our blog site traverses numerous categories, offering readers valuable and practical information. Readers can use the editorial team’s research and data to gain more insights into their topics of interest. However, they are requested not to treat the articles as conclusive. The website team cannot be held responsible for differences in data or inaccuracies found across other platforms. Please also note that the site might also miss out on various schemes and offers available that the readers may find more beneficial than the ones we cover.