

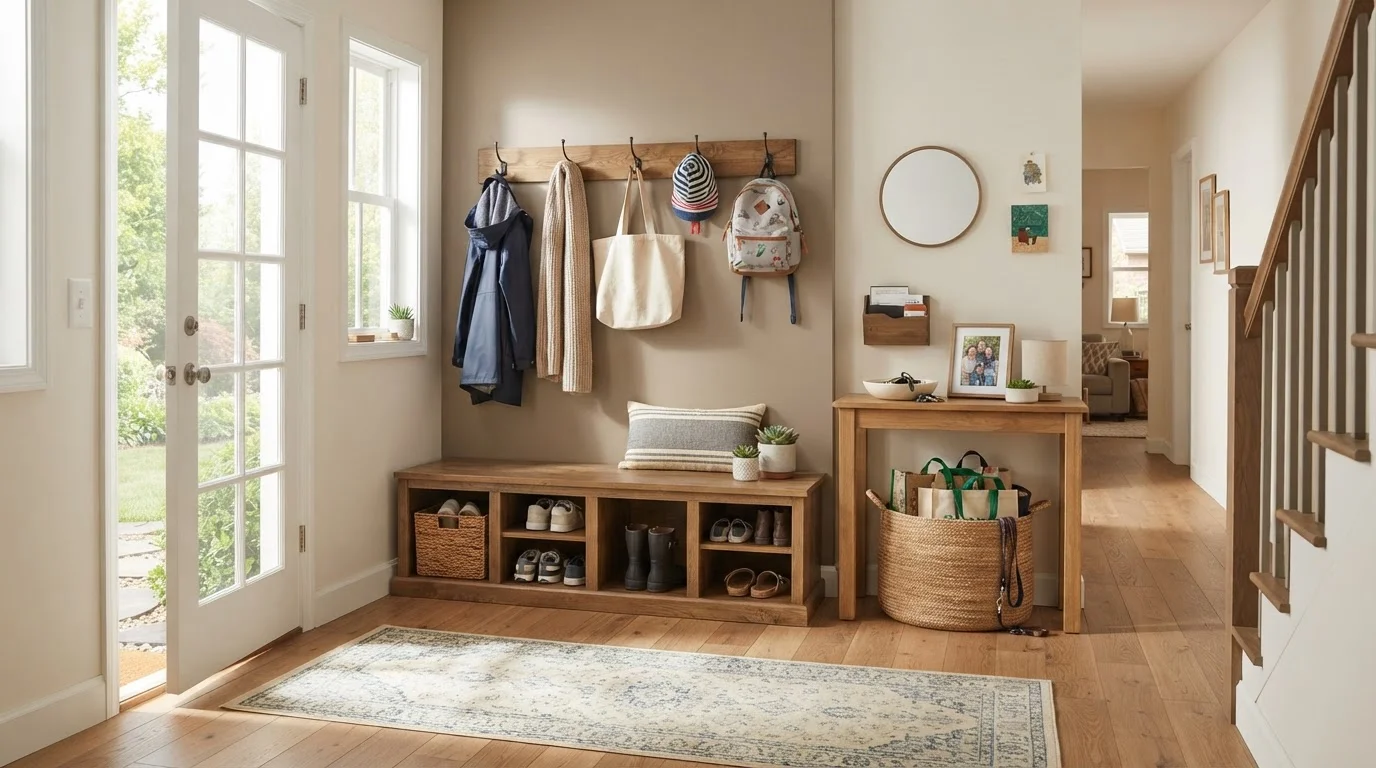
Why Entryways Become Chaos Zones
The entryway is the first place everyone lands when they walk through the door - tired, carrying things, often in a hurry. Without a clearly defined place for every item, the path of least resistance is to dump everything on the nearest surface. Over time, that pattern becomes the default, and the space stops functioning as an entry and starts functioning as a holding pen for miscellaneous household overflow.
The challenge isn't usually a shortage of space. It's a shortage of assigned space. Coats end up on the banister because there's no hook at the right height. Shoes pile up at the door because the shoe rack is full of seasonal footwear no one has moved. Bags go on the floor because there's nowhere obvious to hang them.
The same structural problem that makes entryways chaotic affects other rooms too - if you've ever tidied a living room only to have it feel cluttered again within days, that's worth exploring in our article on why rooms feel cluttered even after tidying.
Stud and cable detector
Locates wall studs and hidden cables before you drill, preventing damage and injury.
Power drill and drill bits
Needed to mount hooks, rails, and shelving securely to the wall.
Spirit level
Ensures hooks and shelves are installed straight.
Measuring tape
Used to plan spacing between hooks and position storage at the correct heights.
Pencil and painter's tape
Marks drill points and helps you visualise layout on the wall before committing.
Baskets or bins
Corral loose items like scarves, dog leads, and sports accessories in one contained spot.
Setting Up Your Entryway: Step-by-Step
Before you start buying anything, take stock of your space and your household's actual habits. The goal is a system that matches how your family really moves - not an aspirational layout that looks good in photos but fails by day three.
What you will need
Empty and assess your entryway
Remove everything currently sitting in the space - shoes on the floor, bags on door handles, coats draped over the banister. Place it all somewhere temporary so you can see the bare area clearly.
Measure the width, depth, and height of the space, including the door swing radius. Note any features that limit your options: radiators, fuse boxes, light switches, or a narrow corridor width. Take a photo for reference before you start.
Decide what actually belongs in the entryway
Not everything that ends up here belongs here. The entryway should hold only items used daily or when leaving the house. Seasonal coats, holiday luggage, and rarely used sports equipment should live elsewhere.
Set a firm rule: if no one reaches for it at least once a week, it doesn't earn entryway space. Rehome anything that fails this test before designing your system. For a full room-by-room approach to sorting what stays and what goes, see our decluttering audit for family homes.
Plan your vertical storage zones
Divide the wall height into three functional zones:
- Low zone (0-100 cm): Children's hooks, shoe storage, and a small bench if space allows.
- Mid zone (100-160 cm): Adult coat hooks and a bag or backpack hook per family member.
- High zone (160 cm+): A shelf for items used less frequently - helmets, umbrellas, a key bowl.
Sketch the layout on paper or use painter's tape on the wall to mock up positions before drilling. Allow at least 12-15 cm between hooks horizontally to avoid coats overlapping.
Install hooks and rails securely
Use your stud detector to locate wall studs or solid fixing points. For plasterboard walls without studs at your preferred position, use cavity wall anchors rated to hold the expected weight - a wet winter coat plus a heavy backpack can exceed 5 kg per hook.
Mark drill points with a pencil, check with your spirit level, and drill pilot holes before inserting fixings. Tighten screws firmly but avoid over-torquing into plasterboard anchors.
Add shoe storage at floor level
Shoes are typically the biggest source of entryway chaos. Options include a simple slatted shoe rack, a bench with built-in cubbies underneath, or a row of individual fabric pockets mounted low on the wall.
Allocate one or two pairs per family member in the entryway - enough for the most-worn footwear. The rest belong in bedroom wardrobes or a hallway cupboard. If your hallway is very narrow (under 90 cm), a slanted rack takes up less depth than a flat shelf.
Create a key and small-items landing zone
Keys, transit cards, sunglasses, and charging cables are small, easily lost, and create outsized stress when missing at departure time. Dedicate a single spot - a small wall-mounted shelf, a narrow console table, or a bowl on a high hook - specifically for these items.
The rule is simple: these items go here immediately on arrival, every time. Consistency, not the container, is what makes this work.
Establish and practise the daily drop routine
A well-fitted entryway only stays organised if the whole household follows the same return routine. Walk through it explicitly with children: shoes in the rack, coat on your hook, bag in your cubby, done.
For the first few weeks, a quick verbal prompt as everyone comes through the door reinforces the habit. Once it sticks, the system runs itself. If you find clutter migrating back in, revisit whether the storage is genuinely convenient - friction in the system is usually the cause, not lack of effort.
If you're interested in how organisation principles apply throughout the home, our guide to interior organisation systems offers a useful reference on common approaches and which suit different households.
Check Before Drilling or Mounting
Before installing hooks, shelving, or a coat rail, check walls for concealed electrical cables or plumbing using a stud and cable detector. This is especially important near light switches and sockets. If you are unsure, consult a qualified professional before proceeding.
Avoid Blocking Fire Egress Routes
Your entryway is often a primary exit route. Keep the floor clear enough that the front door can open fully and the path is unobstructed. Bulky furniture or floor-level clutter can create a hazard in an emergency.
Label Everything at First
When introducing a new system to children, label each hook, cubby, or basket with a name or a simple picture. Within a few weeks the habit forms and labels become optional - but they dramatically speed up the learning curve.
Once your entryway is running smoothly, you may find it easier to apply the same zone-and-assign approach to the rest of the house. Our room-by-room decluttering audit gives you a structured checklist to work through each area systematically.
The content provided on our blog site traverses numerous categories, offering readers valuable and practical information. Readers can use the editorial team’s research and data to gain more insights into their topics of interest. However, they are requested not to treat the articles as conclusive. The website team cannot be held responsible for differences in data or inaccuracies found across other platforms. Please also note that the site might also miss out on various schemes and offers available that the readers may find more beneficial than the ones we cover.